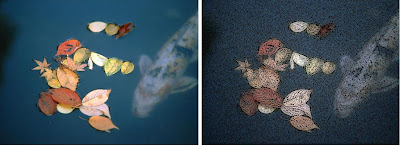
Let's see how it is done...
1. Start with opening your picture, and duplicating layer...
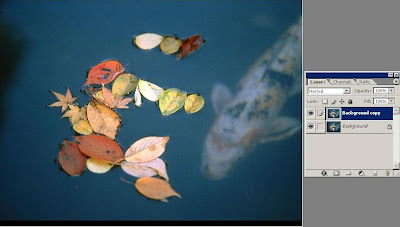
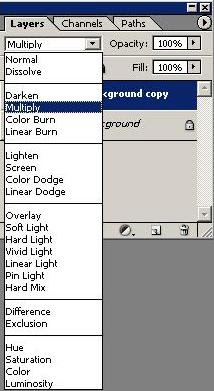
2. Select the copy of the layer, and then go to layers menu, and set Blend mode from Normal to Multiply:
3. Filter the layer through "Filter -> Other -> High Pass", and set the Radius to 1.6, and click OK. Now, the "copy layer" is made into gray "woodcut" picture.
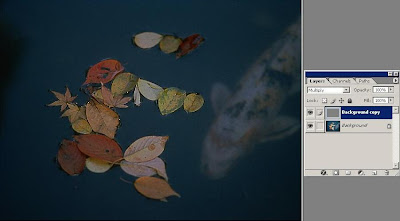
4. Go to "Image -> Adjustments -> Threshold", and leave the threshold to it's default value (128), and click OK. This step is the one that creates the woodcut look.
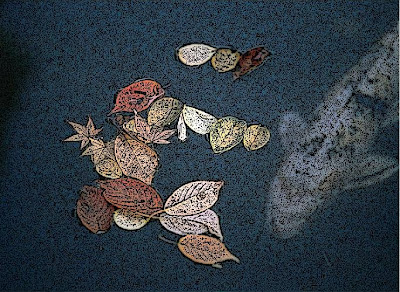
5. One additional thing you can do is to select the first layer "Background", and choose "Filter -> Blur -> Gaussian Blur", and select the radius 8 (or whichever you like, depending of the softness of image you want to achieve), and then you can see your final results:
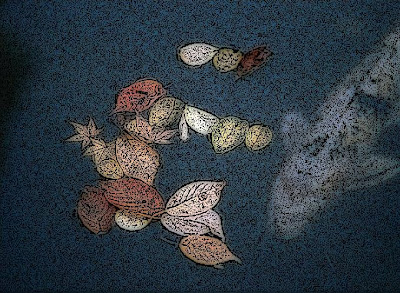
There it is! You have learned one more great trick in photoshop!
1 comment:
awesome technique, thanks for sharing!
Post a Comment